
Gaussian blur, LAB sharpen parameters, and custom convolution kernels
While Image enhancement, local contrast, and edge detection previews blur and sharpen outputs side by side, tuning thumbnail crispness or denoising scans in production requires understanding gaussblur amplitude truncation, the six CIE LAB sharpen parameters, and the boundary between median rank filters (Rank / median) and custom convolution matrices (conv / convolve).
1. Gaussian blur (GaussianBlur / gaussblur): sigma and min_ampl
Section titled “1. Gaussian blur (GaussianBlur / gaussblur): sigma and min_ampl”vips_gaussblur runs a separable 1D Gaussian kernel:
sigma: standard deviation of the Gaussian bell curve (blur radius). Values of1.0–5.0soften thumbnails or feather masks;15.0–40.0produces frosted-glass backdrops. Note thatsharp.blur(sigma)requiressigmabetween0.3and1000.min_ampl(minimum amplitude cutoff): determines where the Gaussian tails are truncated (default0.2). For smoother wide-radius gradients without subtle banding, lowermin_amplby passing the optional second argumentimage.GaussianBlur(sigma, 0.05)ingovipsorminAmplitude: 0.05insharp.
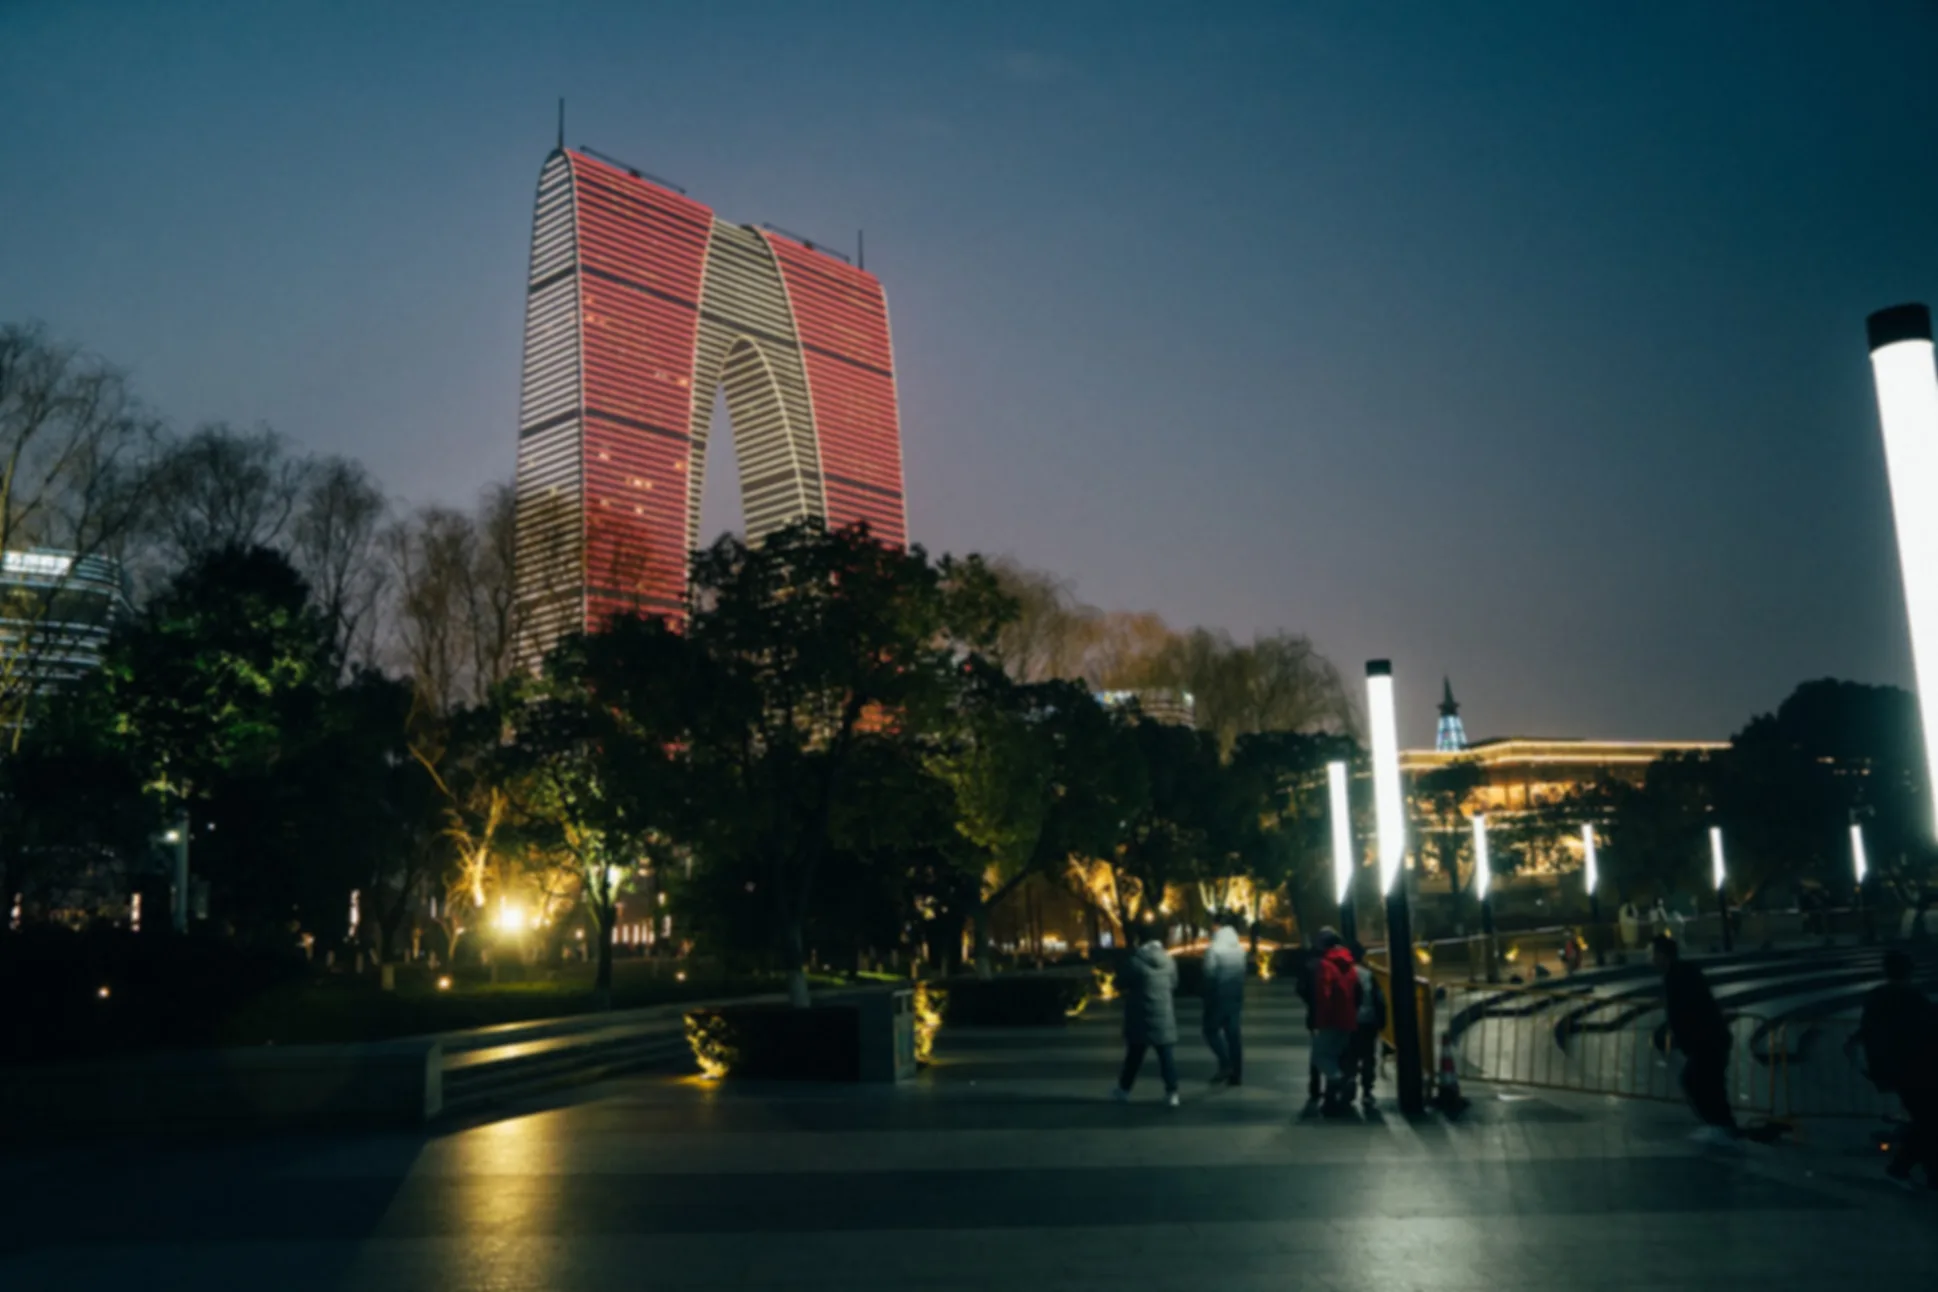
Generated with govips v2.20.0 / libvips 8.17.3.
// Optional second parameter minAmpl defaults to 0.2; smaller values widen the kernel for smoother tailsif err := image.GaussianBlur(4.0, 0.2); err != nil { return err}import sharp from 'sharp';
await sharp('input.jpg') .blur({ sigma: 4.0, minAmplitude: 0.2, precision: 'integer' }) .webp({ quality: 82 }) .toFile('blur.webp');import pyvips
image = pyvips.Image.new_from_file("input.jpg")blurred = image.gaussblur(4.0, min_ampl=0.2, precision="integer")blurred.write_to_file("blur.webp", Q=82)vips gaussblur input.jpg 'blur.webp[Q=82]' 4.0 --min-ampl 0.2 --precision integer2. Unsharp masking in CIE LAB lightness space (Sharpen)
Section titled “2. Unsharp masking in CIE LAB lightness space (Sharpen)”Unlike naive RGB Laplacian sharpening, vips_sharpen converts the image to CIE LAB and sharpens only the L (lightness) channel*, preventing colour fringes and hue shifts along high-contrast edges.
Its piecewise-linear transfer curve is controlled by six parameters:
| Parameter | Default | Meaning | Tuning guidance |
|---|---|---|---|
sigma |
0.5 |
Gaussian low-pass radius | 0.5–1.2 for web thumbnails; 1.5–2.5 for high-DPI print |
x1 (flat/jagged threshold) |
2.0 |
High-frequency difference threshold separating flat areas from edges | Raise to 3.0–5.0 on noisy low-light photos to avoid amplifying grain |
m1 (flat slope) |
1.0 |
Sharpening multiplier applied to differences below x1 |
Set to 0 to leave flat areas (skin, night sky) untouched |
m2 (jagged slope) |
2.0 |
Sharpening multiplier applied to edges above x1 |
1.0–2.0 for crisp thumbnails; excessive values cause bright halos |
y2 / y3 (brightening / darkening cap) |
10.0 / 20.0 |
Maximum allowed L* increase (y2) or decrease (y3) |
Caps overshoot on extreme black-to-white edges |
Note: govips exposes image.Sharpen(sigma, x1, m2) with three arguments, whereas sharp, pyvips, and vips CLI expose all six parameters.
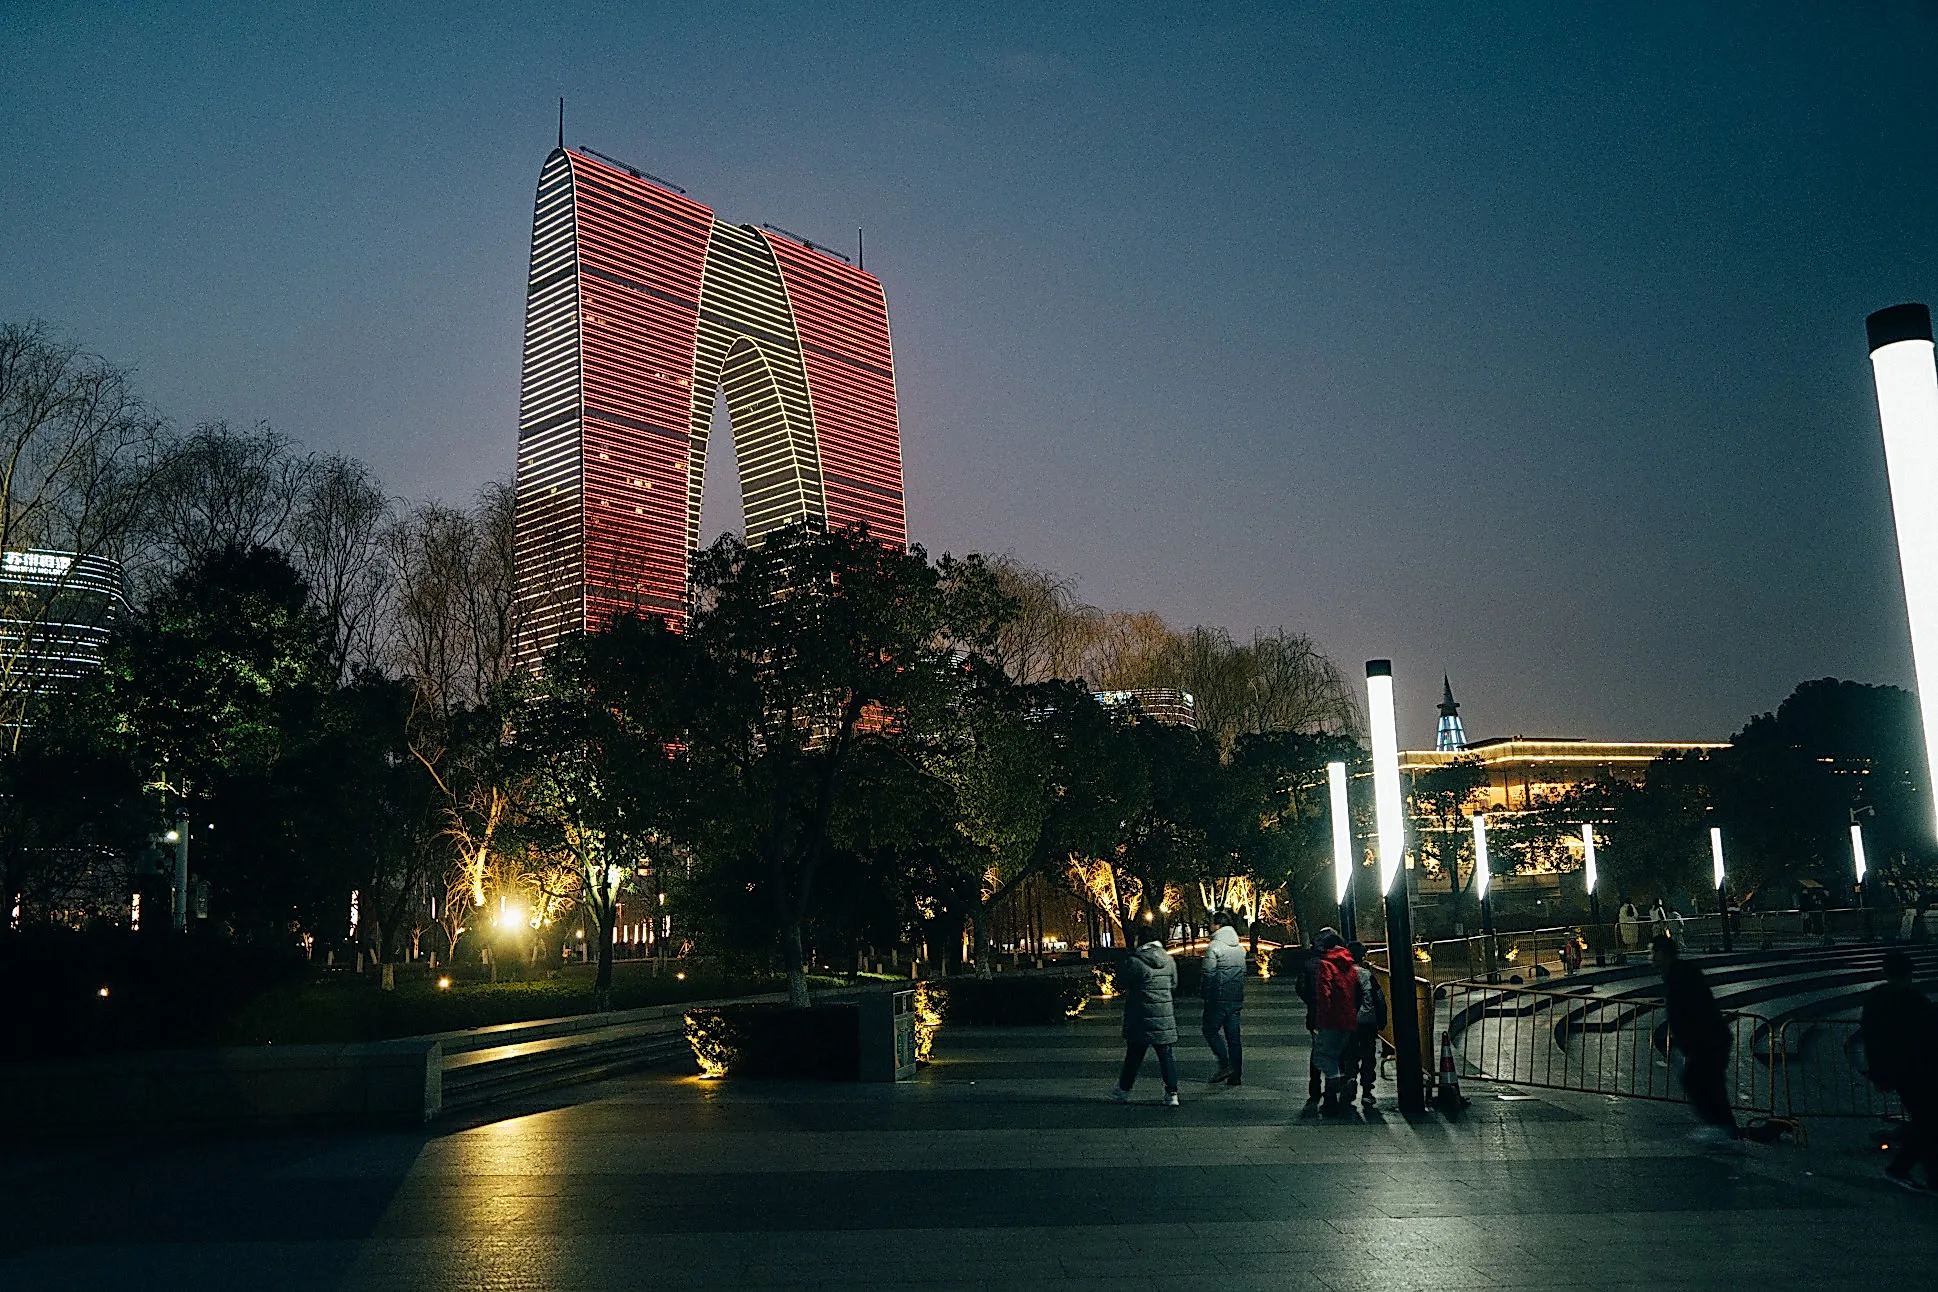
Generated with govips v2.20.0 / libvips 8.17.3.
// Sharpen(sigma, x1, m2)if err := image.Sharpen(1.2, 2.0, 1.5); err != nil { return err}import sharp from 'sharp';
await sharp('input.jpg') .sharpen({ sigma: 1.2, m1: 1.0, m2: 1.5, x1: 2.0, y2: 10.0, y3: 20.0, }) .webp({ quality: 82 }) .toFile('sharpen.webp');import pyvips
image = pyvips.Image.new_from_file("input.jpg")sharpened = image.sharpen(sigma=1.2, x1=2.0, y2=10.0, y3=20.0, m1=1.0, m2=1.5)sharpened.write_to_file("sharpen.webp", Q=82)vips sharpen input.jpg 'sharpen.webp[Q=82]' --sigma 1.2 --x1 2.0 --m1 1.0 --m2 1.53. Median rank filtering (Rank / median) and custom convolution kernels (convolve / conv)
Section titled “3. Median rank filtering (Rank / median) and custom convolution kernels (convolve / conv)”- Median / rank filtering: sorts pixels inside a
w × hwindow and picks the value atindex = (w*h)/2, removing salt-and-pepper noise without blurring sharp step edges. Supported across all four interfaces:image.Rank(3, 3, 4)ingovips,.median(3)insharp,.median(3)/.rank(3, 3, 4)inpyvips, andvips rank in out 3 3 4invips CLI. - Custom 2D convolution kernels:
sharp(.convolve()),pyvips(Image.new_from_array+.conv()), andvips CLI(vips conv) accept arbitraryM × Nkernels withscaleandoffset.govips v2.19.0exposes fixed operators such asSobel()rather than a public arbitrary-matrixConvwrapper.
// 3×3 median filter (index 4 selects the median of 9 sorted pixels)if err := image.Rank(3, 3, 4); err != nil {    return err}
// Edge detection: govips exposes built-in Sobel(), not an arbitrary-matrix Conv()if err := image.Sobel(); err != nil {    return err}
import sharp from 'sharp';
// 1. 3×3 median filterawait sharp('input.jpg').median(3).webp({ quality: 82 }).toFile('median.webp');
// 2. Custom 3×3 emboss convolution kernel with scale=1 and offset=128await sharp('input.jpg') .convolve({ width: 3, height: 3, kernel: [-2, -1, 0, -1, 1, 1, 0, 1, 2], scale: 1, offset: 128, }) .webp({ quality: 82 }) .toFile('emboss.webp');import pyvips
image = pyvips.Image.new_from_file("input.jpg")
# 1. 3×3 median filtermedian = image.median(3)
# 2. Custom 3×3 convolution kernel (attach scale and offset to the kernel image)kernel = pyvips.Image.new_from_array( [[-2, -1, 0], [-1, 1, 1], [0, 1, 2]], scale=1.0, offset=128.0,)emboss = image.conv(kernel, precision="integer")emboss.write_to_file("emboss.webp", Q=82)# 3×3 median filtervips rank input.jpg 'median.webp[Q=82]' 3 3 4